Sometimes the printer and scanner fail to work properly, and the print and scan functionality is seriously impaired. We should uninstall and reinstall the driver software to recover this problem. Reset the printer and check the power source to work properly without errors or problems to fix the printer and scanner.
Fix “Printer And Scanner Not Working.”
- Issue Find and switch on the Power button on the printer.
- Search and open the Windows Control Panel.
- Select Uninstall a program to open a list of programs installed under Program and Features or Programmes.
- Select the name of the HP printer to open the confirmation uninstall window.
- Choose Yes to complete the removal of software.
- Make sure the printer is connected.
- Make sure the cartridges are installed.
- Ensure the plain paper is placed on the main tray and re-install and download the driver.
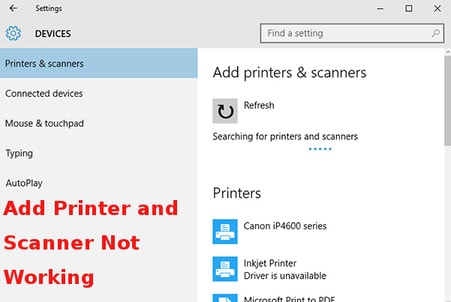
Elaborate steps to fix “Add Printer and Scanner Not Working”
- Find and press the Power button on your printer. Search and open the Control Panel in Windows.
- Select Uninstall a program to open the list of installed programs under Program and Features or Programmes.
- Select the name of the HP printer to open the confirmation uninstall window and choose Yes to complete the removal of your software.
- Make sure the printer is on, cartridges are installed and the paper is loaded in the main plate. Download and reinstall the driver.
- In the Dock and menu bar, select Finder, Go, select Applications and in Mac, open the HP folder.
- Dual-click HP Uninstaller to uninstall the software and prepare the printer for the installation of the driver. If the HP Uninstaller isn’t in the folder, drag and drops the HP folder into the Dock icon to solve the problem of adding printer and scanner that doesn’t work.
- Select Go, select Go to Folder in the menu bar, type Library Printers and then select Go. Choose and drag the HP file to the Dock Trash icon. And click on the Trash icon to right-click or Ctrl+ and choose Empty Trash.
- Prepare the driver installation printer. Make sure it is enabled, cartridges are installed and the paper in the main chamber loaded. And download the driver and install it.
- If a scanner does not work, disconnect the power cord from the printer with the printer on.
- Then disconnect the power cord from the power source and wait 30 seconds. Connect the power cord to the back of the printer and turn to the printer and fix the problem of not working the add printer or scanner.