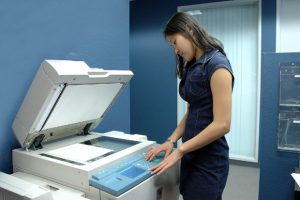
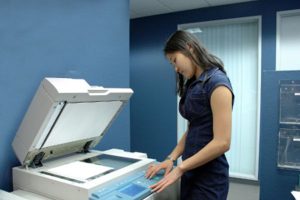
Troubleshoot Printer Stuck in Offline Status

Common Printer Issues
The trouble may be that the printers are not online. If you try to print something in the operating system of Windows and it doesn’t print. Unless you’re online, you won’t be able to print. You simply need to switch the printer on to your online printer and wait for the printer to change its position off-line to on-line for a few seconds.
Sadly, it’s not that easy to turn your printer offline to online. Even if the prints are connected to the PC and are activated, the printer may be offline. There are many reasons why Windows doesn’t detect the network or computer-linked printer and some of the problem solutions are discussed hereafter.
Power cycle devices
You first need to try and power the computer and printer cycle before getting deep into the tools and settings. This can often help solve the problem. The computer and the printer just need to be turned off. The printer can then be powered and waited for it to be connected back to the network. You must wait until the printer is finished in the start-up process if you use a USB cable to connect the printer.
When the printer is enabled, the computer can be switched on to see if the printer is still offline. If the printer remains in offline mode, you have to make sure that the printer is completely turned off and not saving power. The best thing you can do if you are uncertain is to unplug the printer fully and wait about 30 seconds to plug it again.
Use the Printer software
You may try to use the printer software provided. If you find that the printer is still displayed offline. These services can find the printer on the network and correct the difficulties of the printer offline. You can also download the software from the support website of your printer. For example, you can navigate to a support website using a Canon printer and type a model number to download the necessary software for your Canon printer to maintain or manage it. This applies to nearly every type of printer.
When running the software you can see the status of the printer connected to the computer and provide additional printer details such as the level of the tank ink, paper in the attempt, and so forth.
You can check the presence on your computer of printing software by selecting Settings, Devices, then Printers & Scanners if you are unsure. If you use Windows 10, the list of printers connected to your computer will be displayed. When the connected printer is managed by the software package, the App will be displayed. Click the printer, then click the Open Printer app button to reach Manage.

Set Printer Online
Incorrect set up of settings may prevent you from using Printer Online sometimes, even if the printer is connected and online. In order to check this, you can open the printer queue through Control Panel Devices and Printers and double-click the printer. The printer displayed in the menu bar needs to be clicked and the printer must be unchecked.

Printer Port Check
The problem could be with the configuration of the printer port if none of the above steps have worked. This is mostly applicable to an IP-address network printer. The probable cause of the problem is a change in printer IP address and port setup that still refers to the viewer printer IP address. You need to find the printer’s IP address if this is the case. You can do this by printing a printer’s network settings page.
You can enter the Control Panel after you have received the IP address, select Devices and Printers, then click on the printer to fix your problem. Make sure that you choose Properties of the printer and not the below button Properties. To reach the checked port, select the Ports tab and scroll back down. Select it and click Set Port. A dialog box is opened to let you know that you think the IP address of the printer is assigned.

You can make sure that you find that a printer’s current IP address differs from the IP address listed here. You only have to update your IP address and it will all be all right. If you still have the problem, contact our advanced troubleshooting support team.